Calders & Grandidge uses cookies to deliver superior functionality and to enhance your experience of our websites. Information about our cookie policy can be found here.
Continued use of this site indicates that you accept this policy.
Tips & Advice
Fixing metalwork to your gate
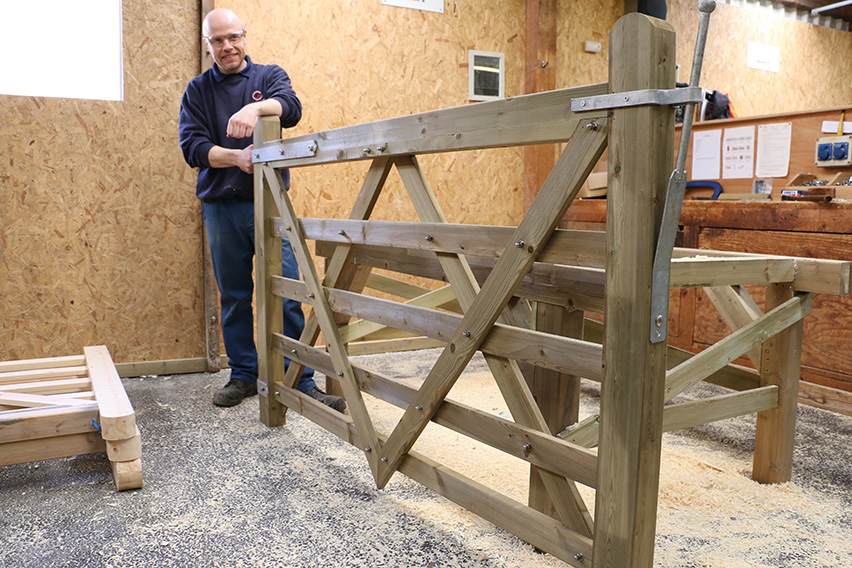
The craftsmen here at Calders and Grandidge are some of the best in the business.
They apply love and care when constructing our range of high-quality products and we would like you to be able to take the same pride in securing the metal work to your gate to make sure it performs at its best.
Calders and Grandidge craftsman, Dale Bolton, reveals his step-by-step installation guide:
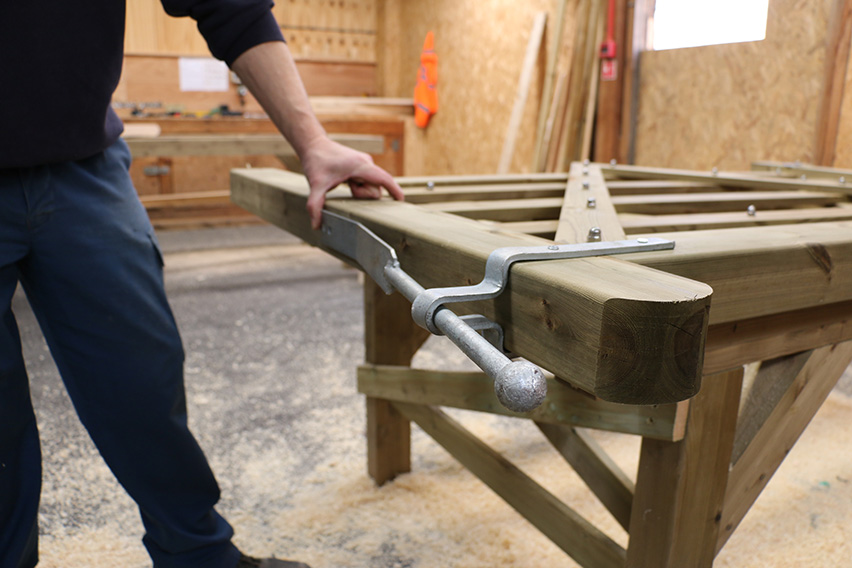
1 - The top band is fitted to the top of the gate and in the centre of the slat.
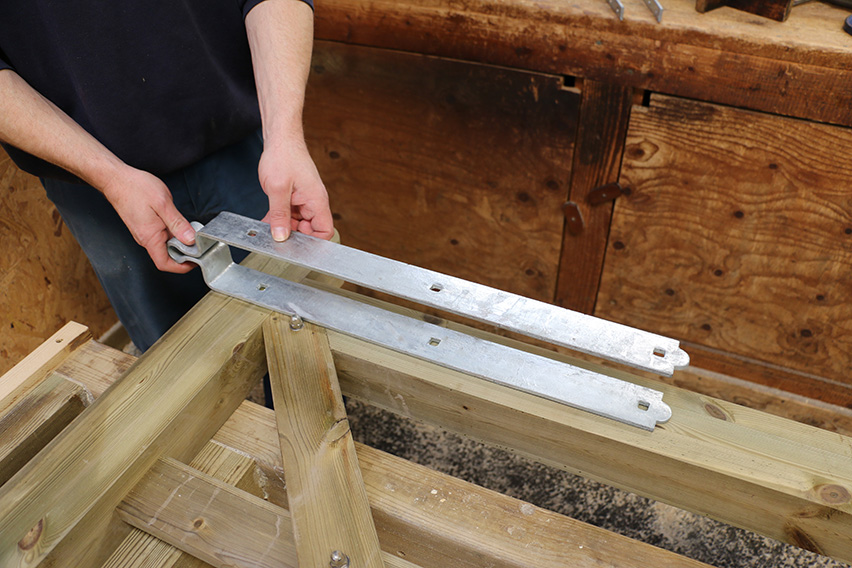
2 - Slide the band onto the top panel of the gate.
3 - Ensure that the metalwork is lined up in the centre .
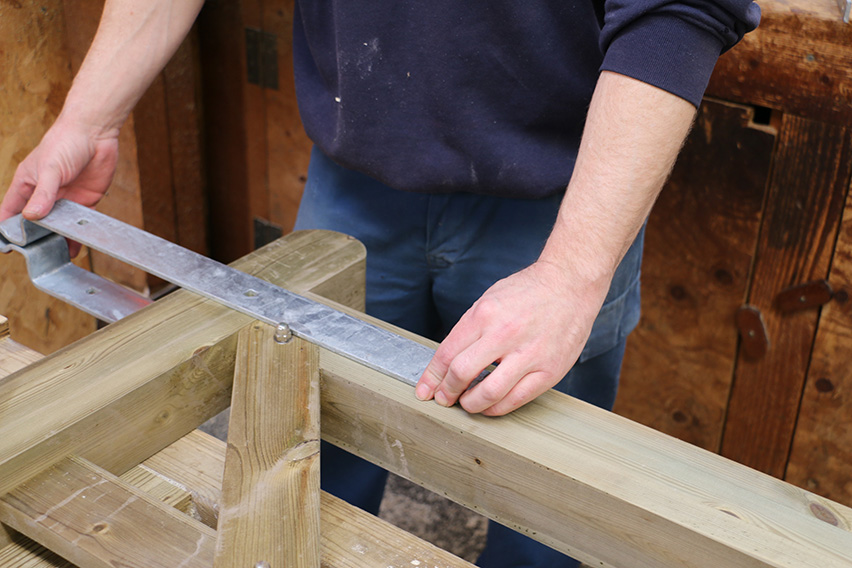
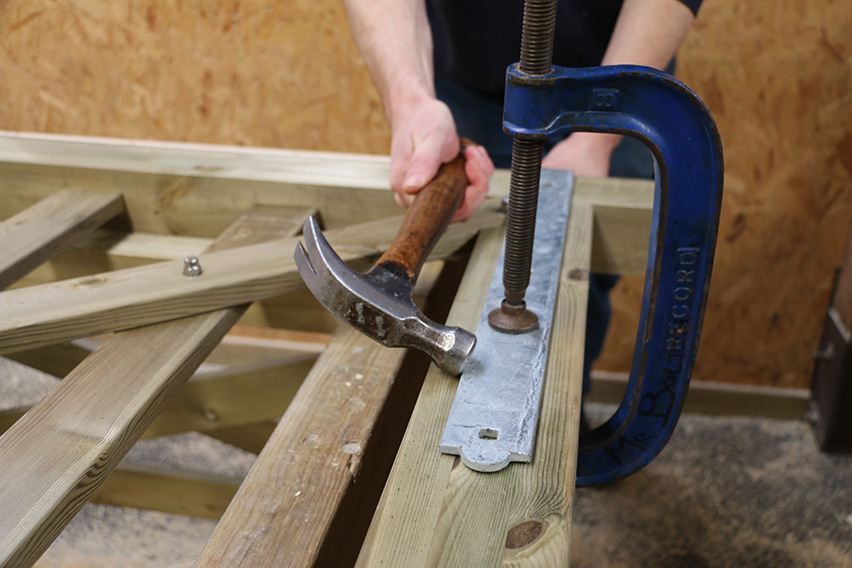
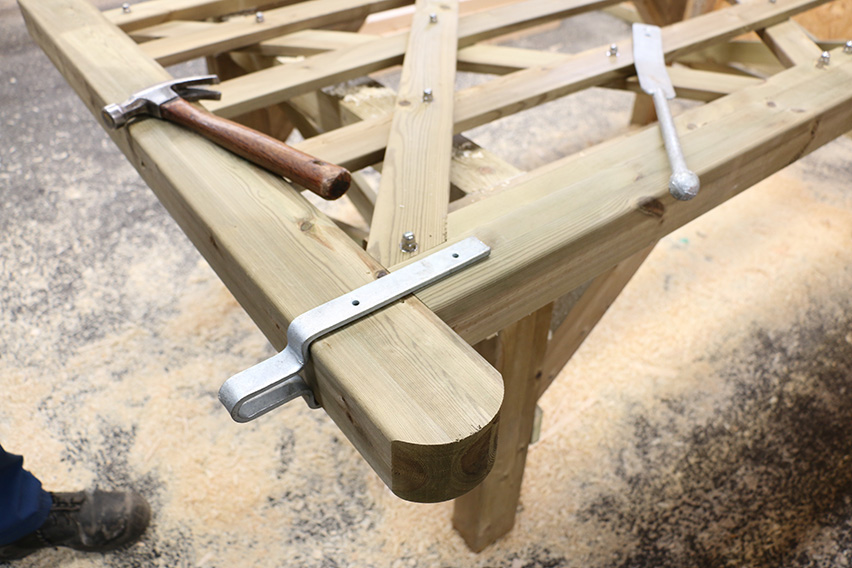
4- The use of a G-Clamp will ensure the top band won’t move when it’s being fixed to the gate.

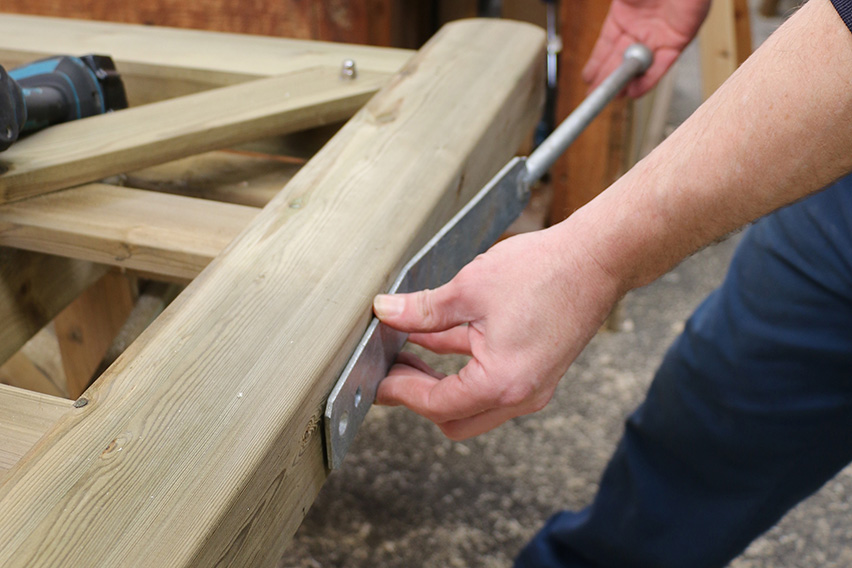
5 - Use a hammer to knock the band up as tight as possible to the gate.
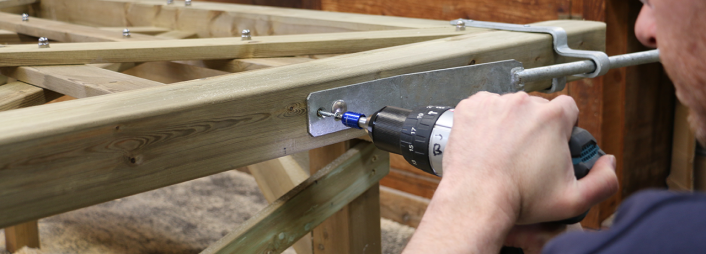
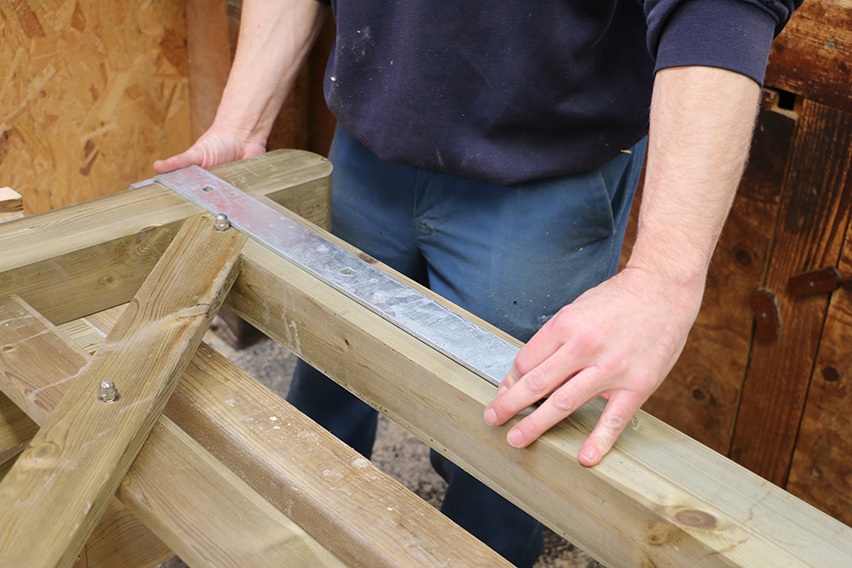
6 - Make sure that it’s straight before you prepare to drill the holes.
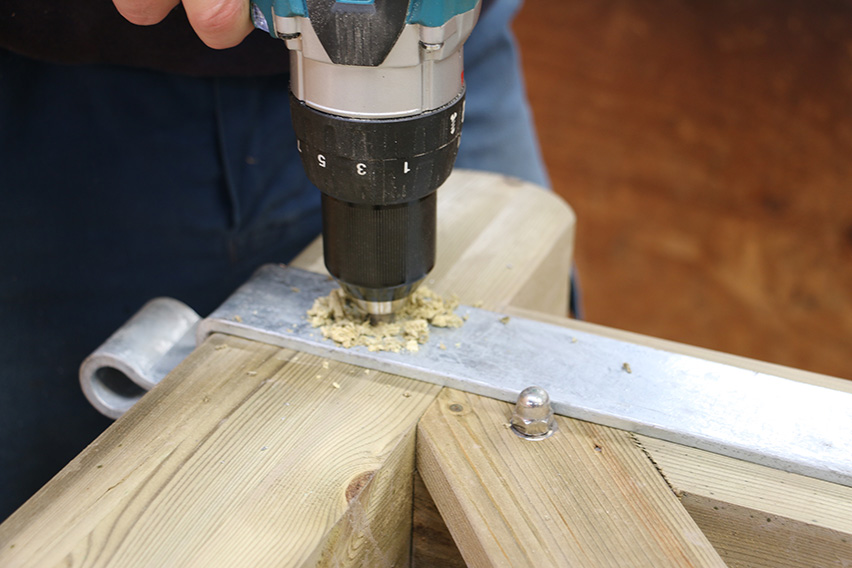
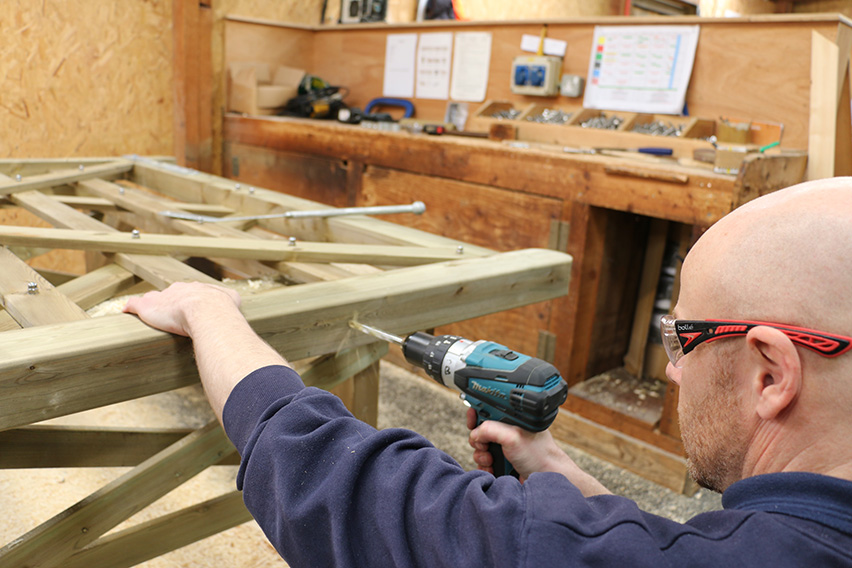
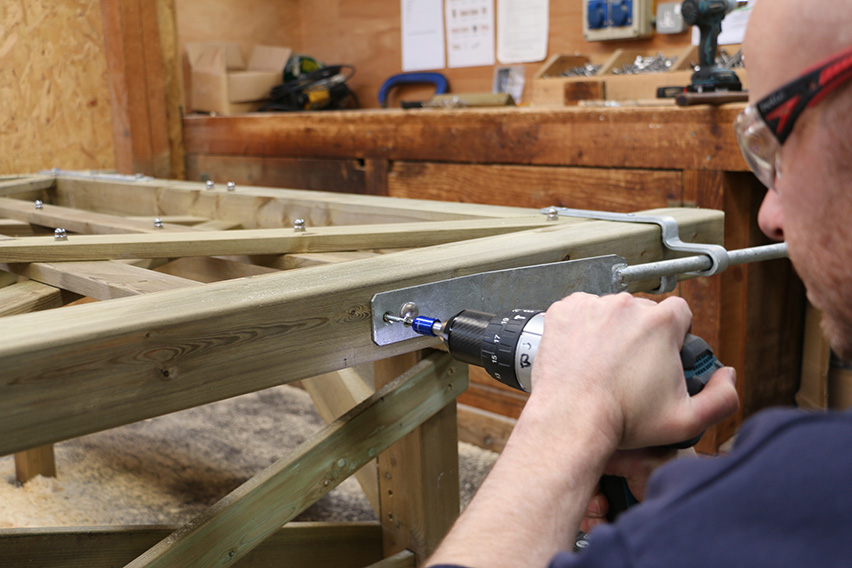
7 - Carefully drill each of the three holes.
6 - Make sure that it’s straight before you prepare to drill the holes.
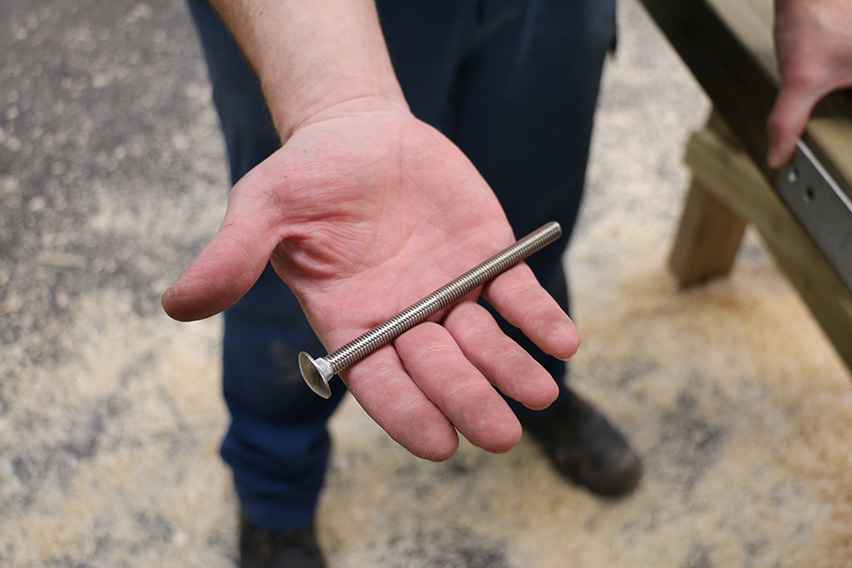
8- Each heavy-duty bolt is 10 mm by 90 mm.
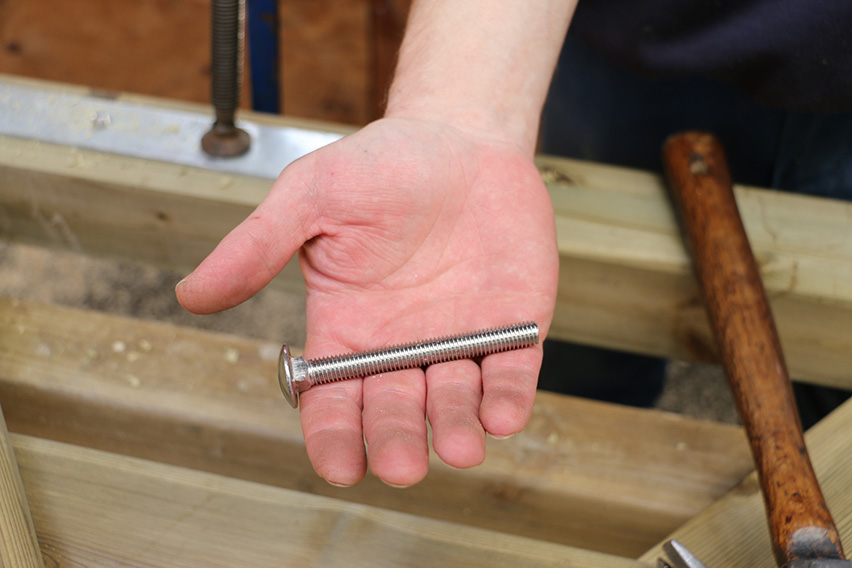
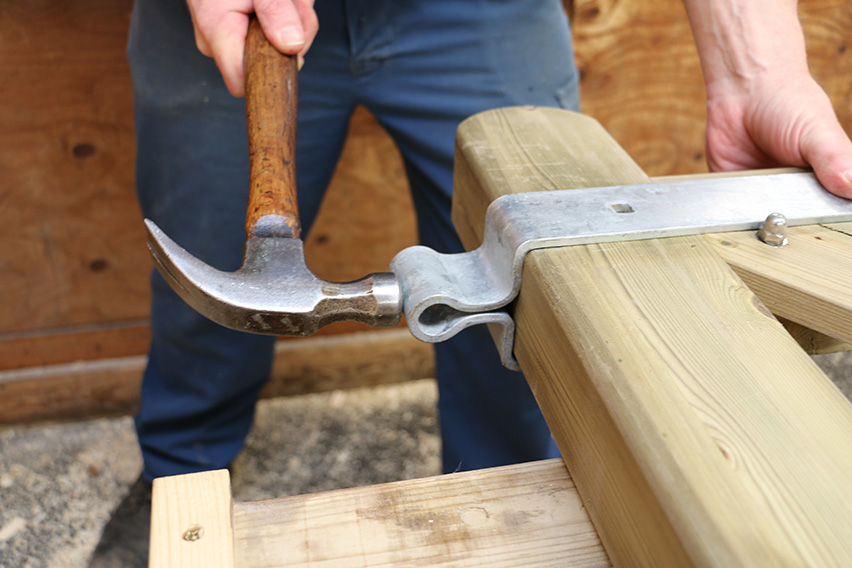
9 - The use of a hammer ensures the bolt passes right through and stands proud of the wood.

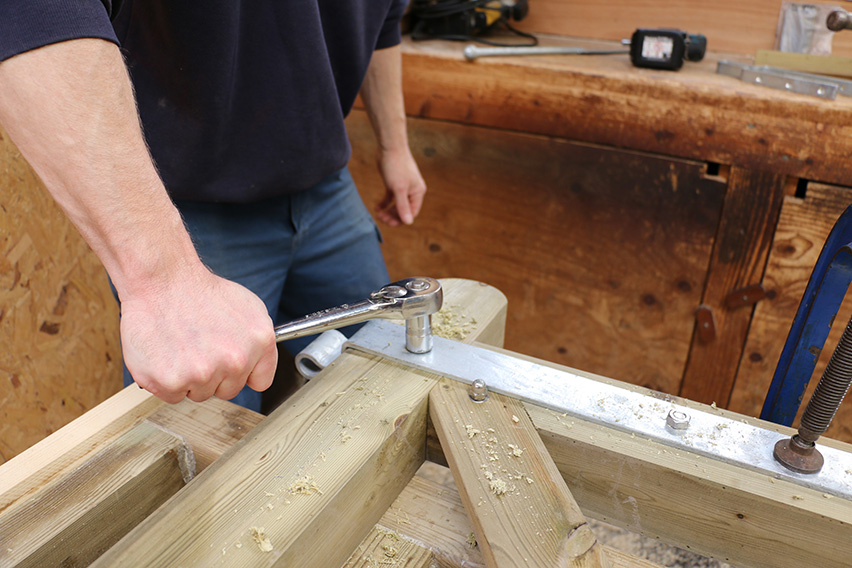
10 - Apply the nuts to each bolt and tighten them with a socket.
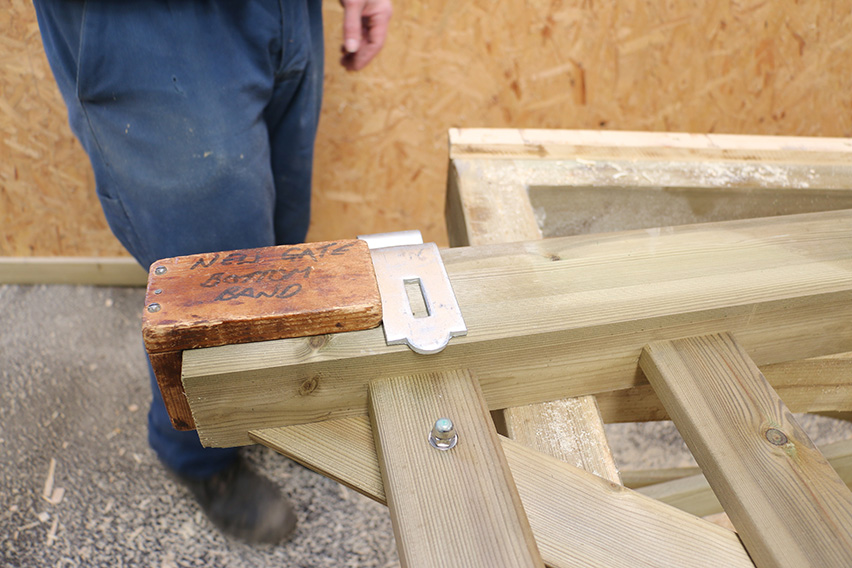
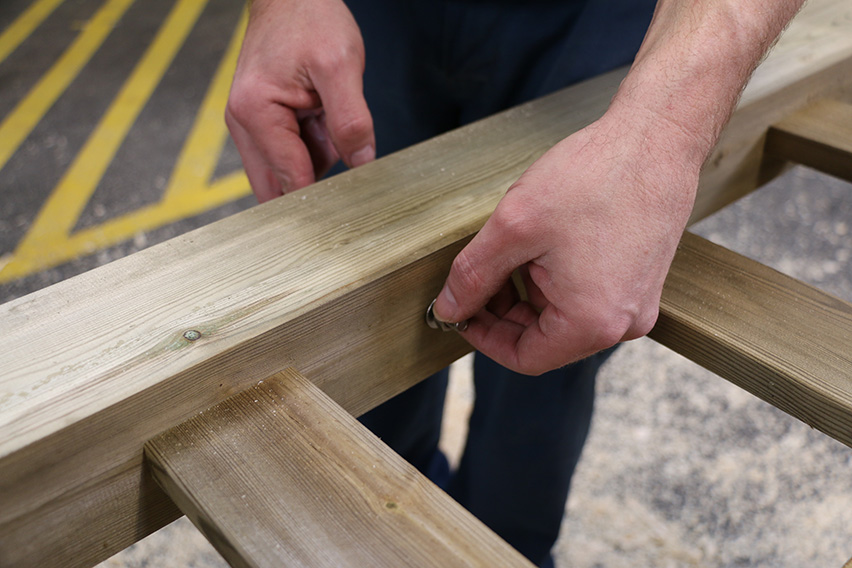
11- Our craftsmen use a template to ensure the bottom band is fitted in the same place every time. You can line it up so that the middle of the band is in line with the bolt pictured.
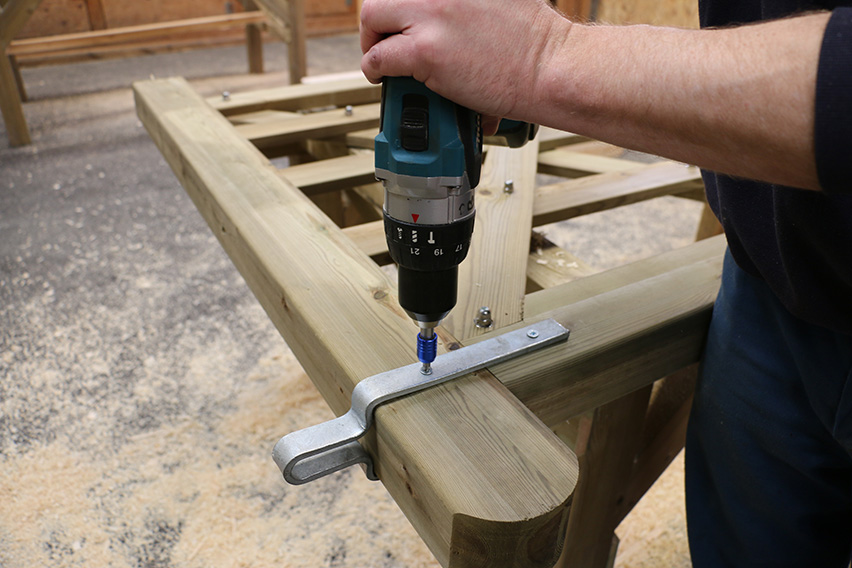
12 - Drill out the hole for the single bolt that attaches it to the bottom of the gate.
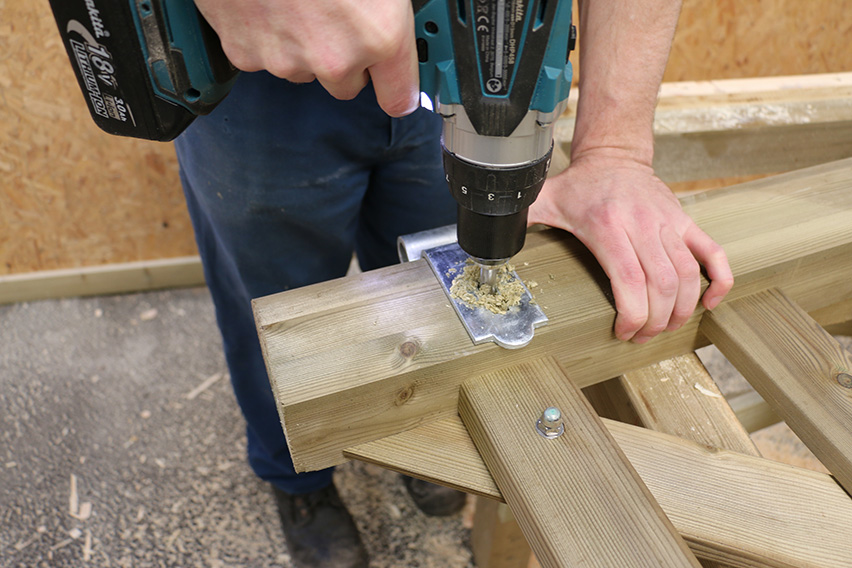
13 - This band is adjustable, so drill the hole just off centre. This allows you to move the band in each direction.
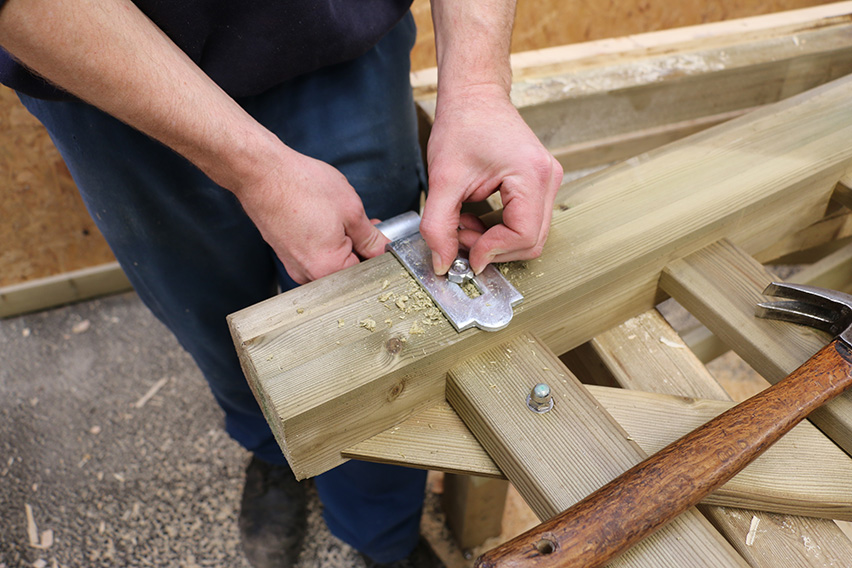
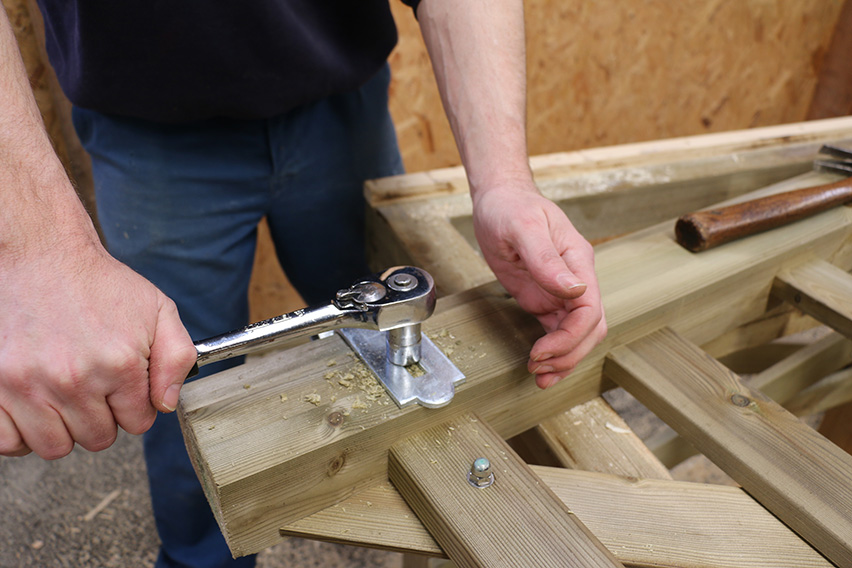
14 - Pass the bolt through and tap it up tight with a hammer. Attach the nut and tighten it with a socket.
15 - The spring fastener is the final piece of metalwork to be fixed to the gate and the handle should be flush to the top of the gate.
16 - Once you’ve lined up the handle and made sure the bracket is in the middle of the wood, drill out the hole.
17 - Slide the gate latch into position and ensure it’s square to the top.
18 - Carefully drill two holes for the bolts that attach the gate latch.
19 - Once the gate latch is in place, it’s time to install the lower part of the handle.
20 - Make sure the metal work is straight and pass this M8 120 mm bolt into the hole closest to the top of the gate.
21 - Thread on the washer and then the bolt.
22 - Drill the second hole that will house a 1.5 inch screw.
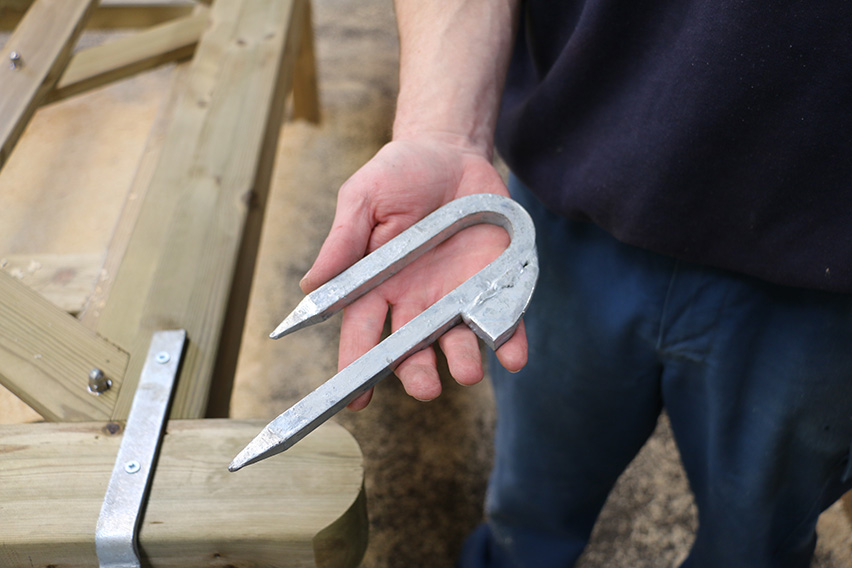
23 - This heavy-duty hook is sent with the gate fastener. It is knocked into the fence post and provides the fastening mechanism for the spring fastener handle.
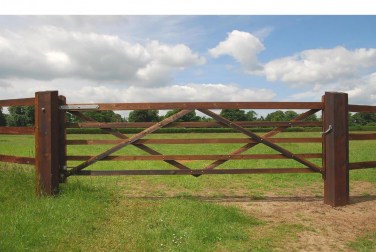
24 - The completed gate should look like the one pictured here.